Building
How to build any kit
By the end of this page you'll be able to build any kit cleanly, and know how to fix it when something goes wrong.
Every kit is different, but building them follows the same few steps. Take it slowly: as a rough guide, allow 15 to 20 minutes for a typical infantry model, and longer for your first few.
- 01
Step 1
Before you clip: check your weapon options
Many kits come with more parts than you need: alternative weapons, and sometimes a champion or a standard bearer. Check which ones you want against your warscroll or your list before you start. Once a weapon is glued on, it's permanent. If you're not sure yet, build the model and leave the weapons unglued.
- 02
Step 2
Find your parts
Read the whole step in the instructions before you touch anything. Each part has a number, and the same number is printed on the sprue next to it, so you can find it without guessing.
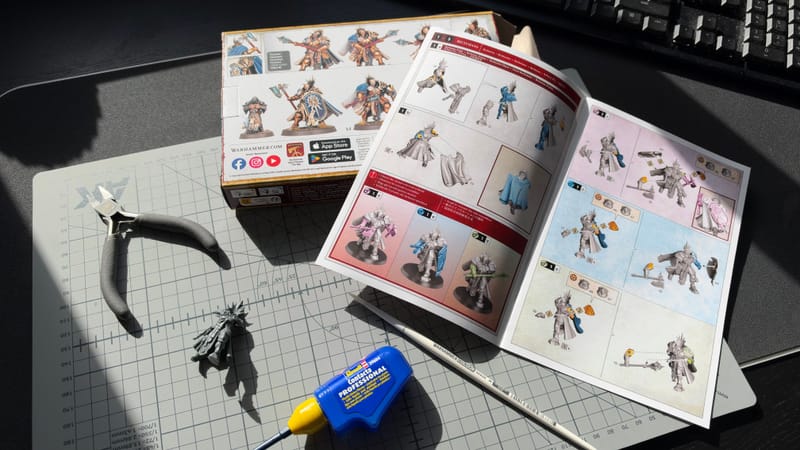
Building my Reclusians: instructions open, parts clipped one step at a time. - 03
Step 3
Clip as you go
Clip the parts for one step at a time, not the whole sprue at once: loose parts get mixed up and lost. Use two cuts. The first cut goes a little way from the model, to free the part. The second takes off what's left, flush, with the flat side of the clippers facing the model. Hold thin parts, like spears and feathers, so they don't bend or snap as you cut.
- 04
Step 4
Clean the mould lines
The thin raised line where the two halves of the mould met is the mould line. Scrape it off with the back of a hobby knife blade, held at a right angle, rather than trying to slice it. Good light makes them much easier to spot. If you do use the edge, always cut away from yourself.
- 05
Step 5
Dry-fit
Hold the parts together without glue first. This is where you catch parts that don't quite meet, before glue makes them permanent.
- 06
Step 6
Glue and hold
Plastic glue doesn't stick parts together like a paste: it melts the surfaces slightly so they weld into one. A thin line on one surface is enough. Press the parts together and hold them for 10 to 20 seconds, then leave the model a few hours before you handle it much.
- 07
Step 7
Leave some parts off for painting
Heads, shields and arms that would block your brush are easier to paint separately. These are called sub-assemblies: paint them on the sprue or stuck to a cocktail stick, and glue them on at the end.
- 08
Step 8
Bases last
Glue the feet to the base as the last step. Before the glue sets, stand the unit side by side to check that the models fit together and nothing clashes.


When it goes wrong (almost everything is fixable)
- You glued the wrong part. Pull it off straight away: within the first few minutes plastic glue hasn't set, and the parts come apart.
- There's a gap in a join. Run a little more plastic glue into it, or fill it with modelling filler, then sand it smooth once it's dry.
- A thin part snapped. Superglue it back. For a part that has to take weight, pin it: drill a small hole in each side and glue in a short piece of paperclip wire.
- You lost a part. Spare parts are easy to find second-hand, and often cheap.
- There are glue fingerprints on the model. Leave them to dry, then scrape or sand them smooth. Paint hides a lot.
A couple of these happened to me: they're in Common building and painting mistakes.